> For the complete documentation index, see [llms.txt](https://help.eventool.com/llms.txt). Markdown versions of documentation pages are available by appending `.md` to page URLs; this page is available as [Markdown](https://help.eventool.com/en/meeting-planner/how-do-i-activate-the-meeting-functionality.md).
# How do I activate the meeting functionality?
Activating this tool is very simple and is available at **no additional cost** for any type of event contracted in Eventool (app or virtual event).
#### Steps to activate it:
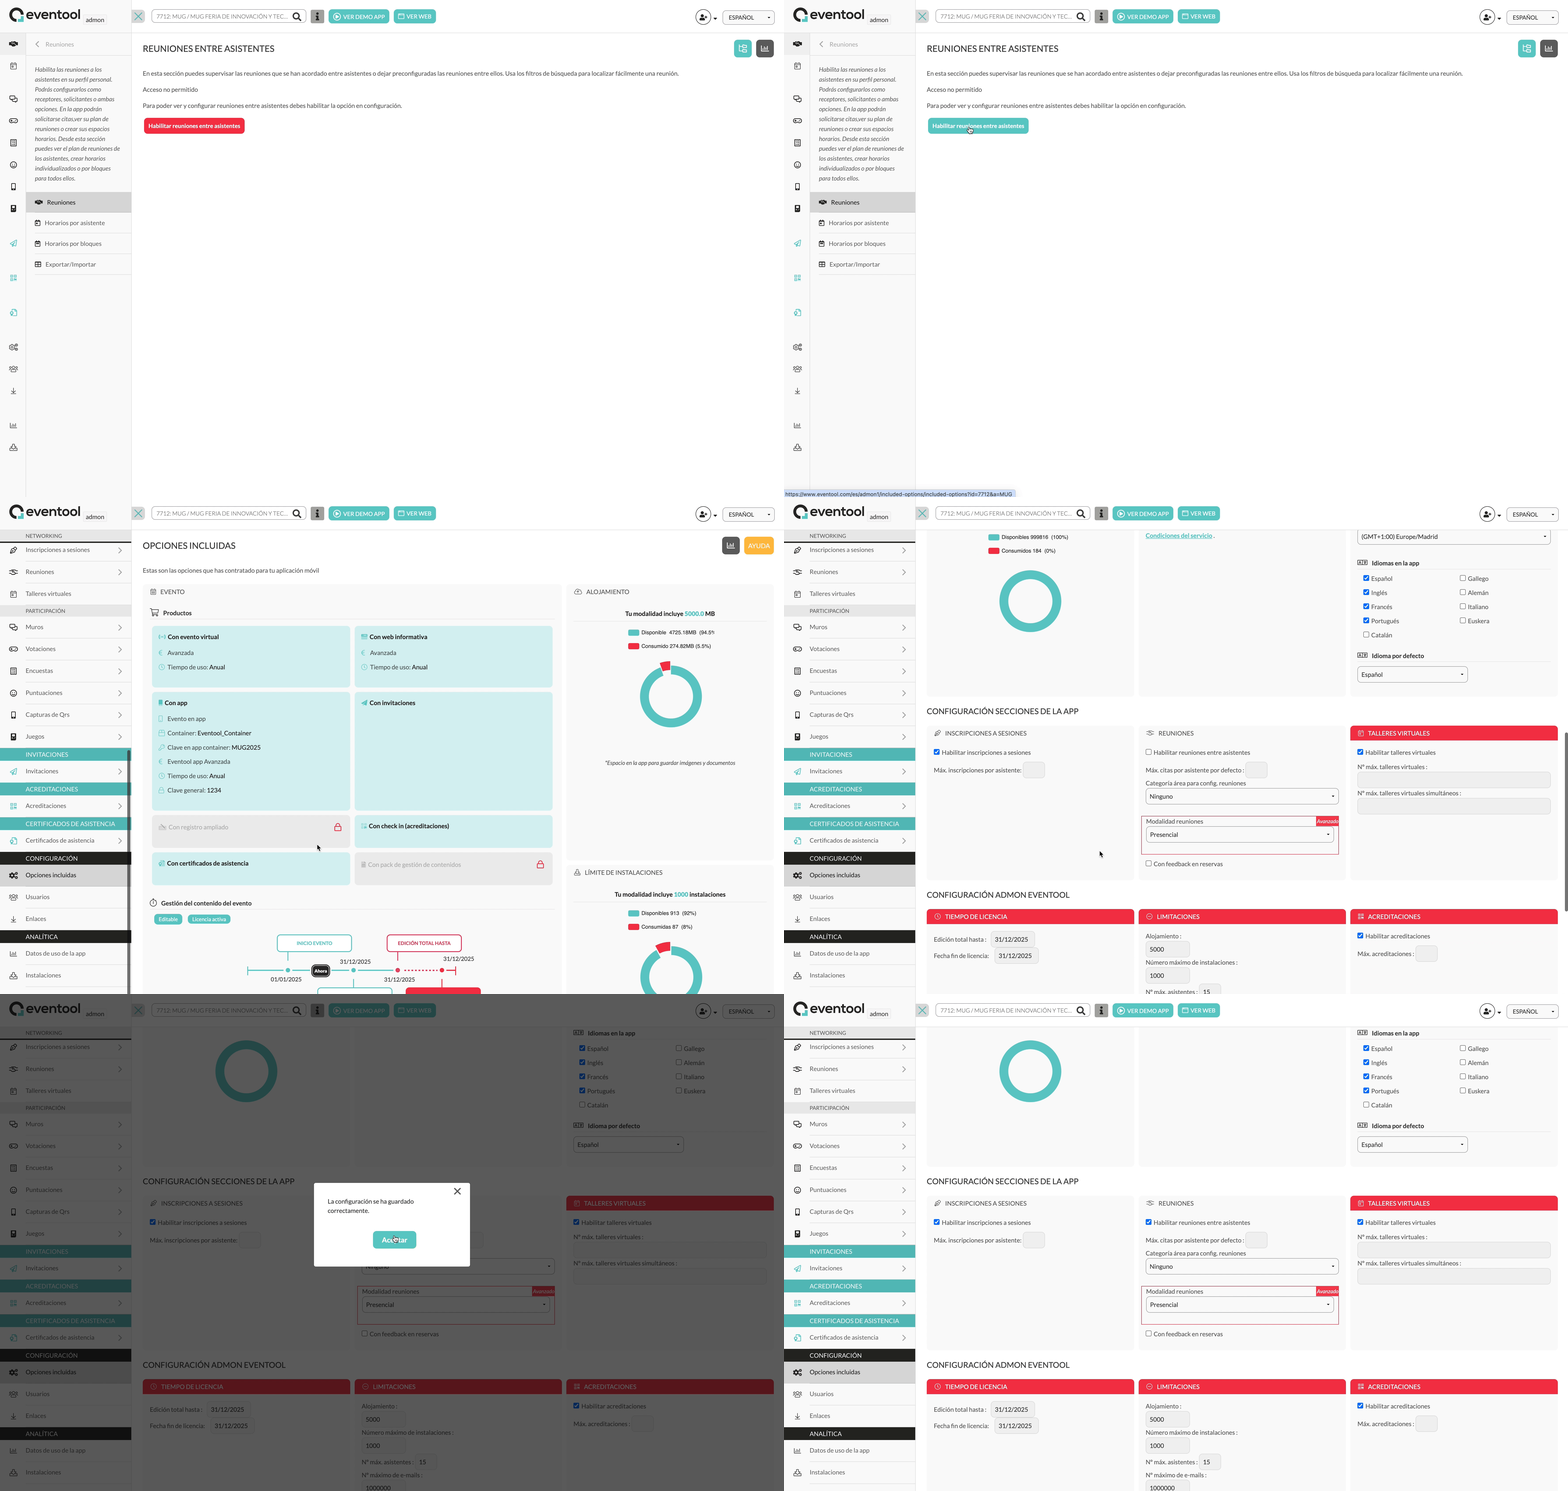
**1. Add the meetings section to the event structure.**
From the management panel, access the event **structure** and add the "**Meetings**" section. This step is essential for the functionality to be visible in the app.
**2. Configure the tool from the content section.**
Go to the **Event Content > Networking > Meetings section**. Here you can activate the feature and configure the initial operating parameters.
## Available configuration options
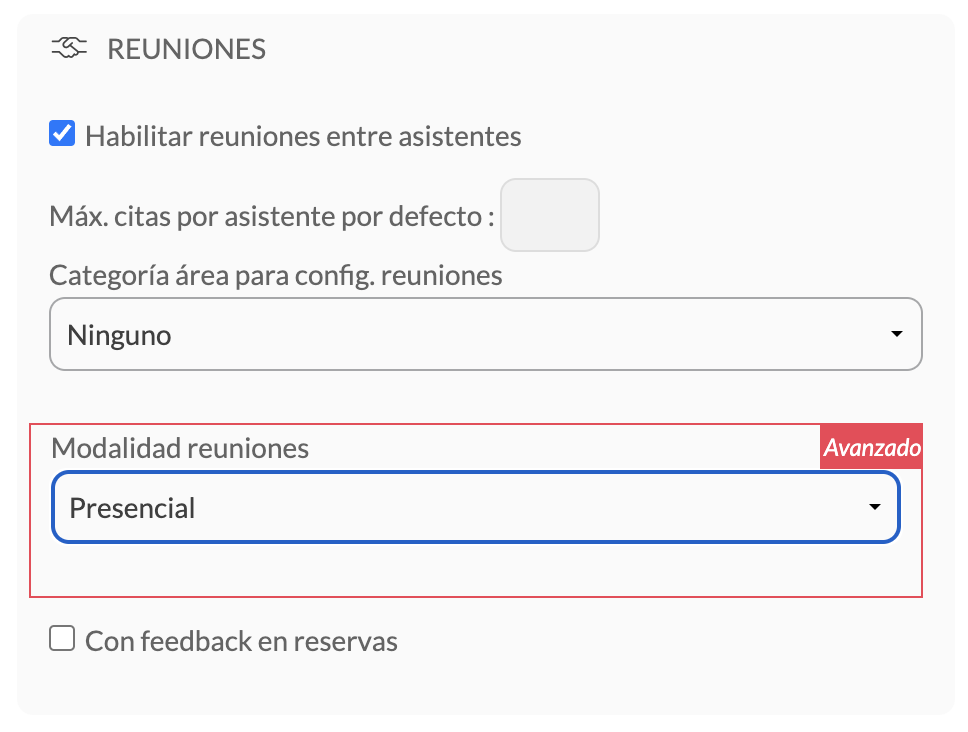
By activating meetings, you can define several key aspects for their proper development:
#### ➤ Max. appointments per assistant by default
Set how many appointments each attendee can schedule by default. For example, if you enter the value “10”, each participant will be able to book up to 10 meetings.
#### ➤ Category area for meeting setup
If the event includes meeting spaces or tables, you can configure them here. You just need to have previously created those areas in the **Areas** section and assigned them to a **specific category**. The system will automatically assign the spaces when a meeting is confirmed.
{% hint style="info" %}
💡 **Tip**: Make sure you create as many tables as you have simultaneous appointments scheduled in each time slot.
{% endhint %}
{% hint style="info" %}
Learn more about how to automatically assign rooms or tables for meetings.
{% endhint %}
#### ➤ Meeting format
Select how the meetings will be conducted:
* **In-person**: ideal for events where attendees will be physically present.
* **Virtual:** They are conducted via video calls using technology integrated into Eventool.
* **Hybrid**: the attendee can choose whether they want to have the appointment in person or virtually.
#### ➤ With feedback on bookings
If you select this option, attendees will be able to indicate from the app whether the meeting was successful.