> For the complete documentation index, see [llms.txt](https://help.eventool.com/llms.txt). Markdown versions of documentation pages are available by appending `.md` to page URLs; this page is available as [Markdown](https://help.eventool.com/en/general-content/networking/attendees/how-to-import-attendees-from-an-excel-template.md).
# How to import attendees from an Excel template
> Do you have many attendees to add to your event? From Eventool, you can import all the information quickly and efficiently using an Excel template. We explain how to do it step by step.
***
## Download the template
1. Access the management panel for your event.
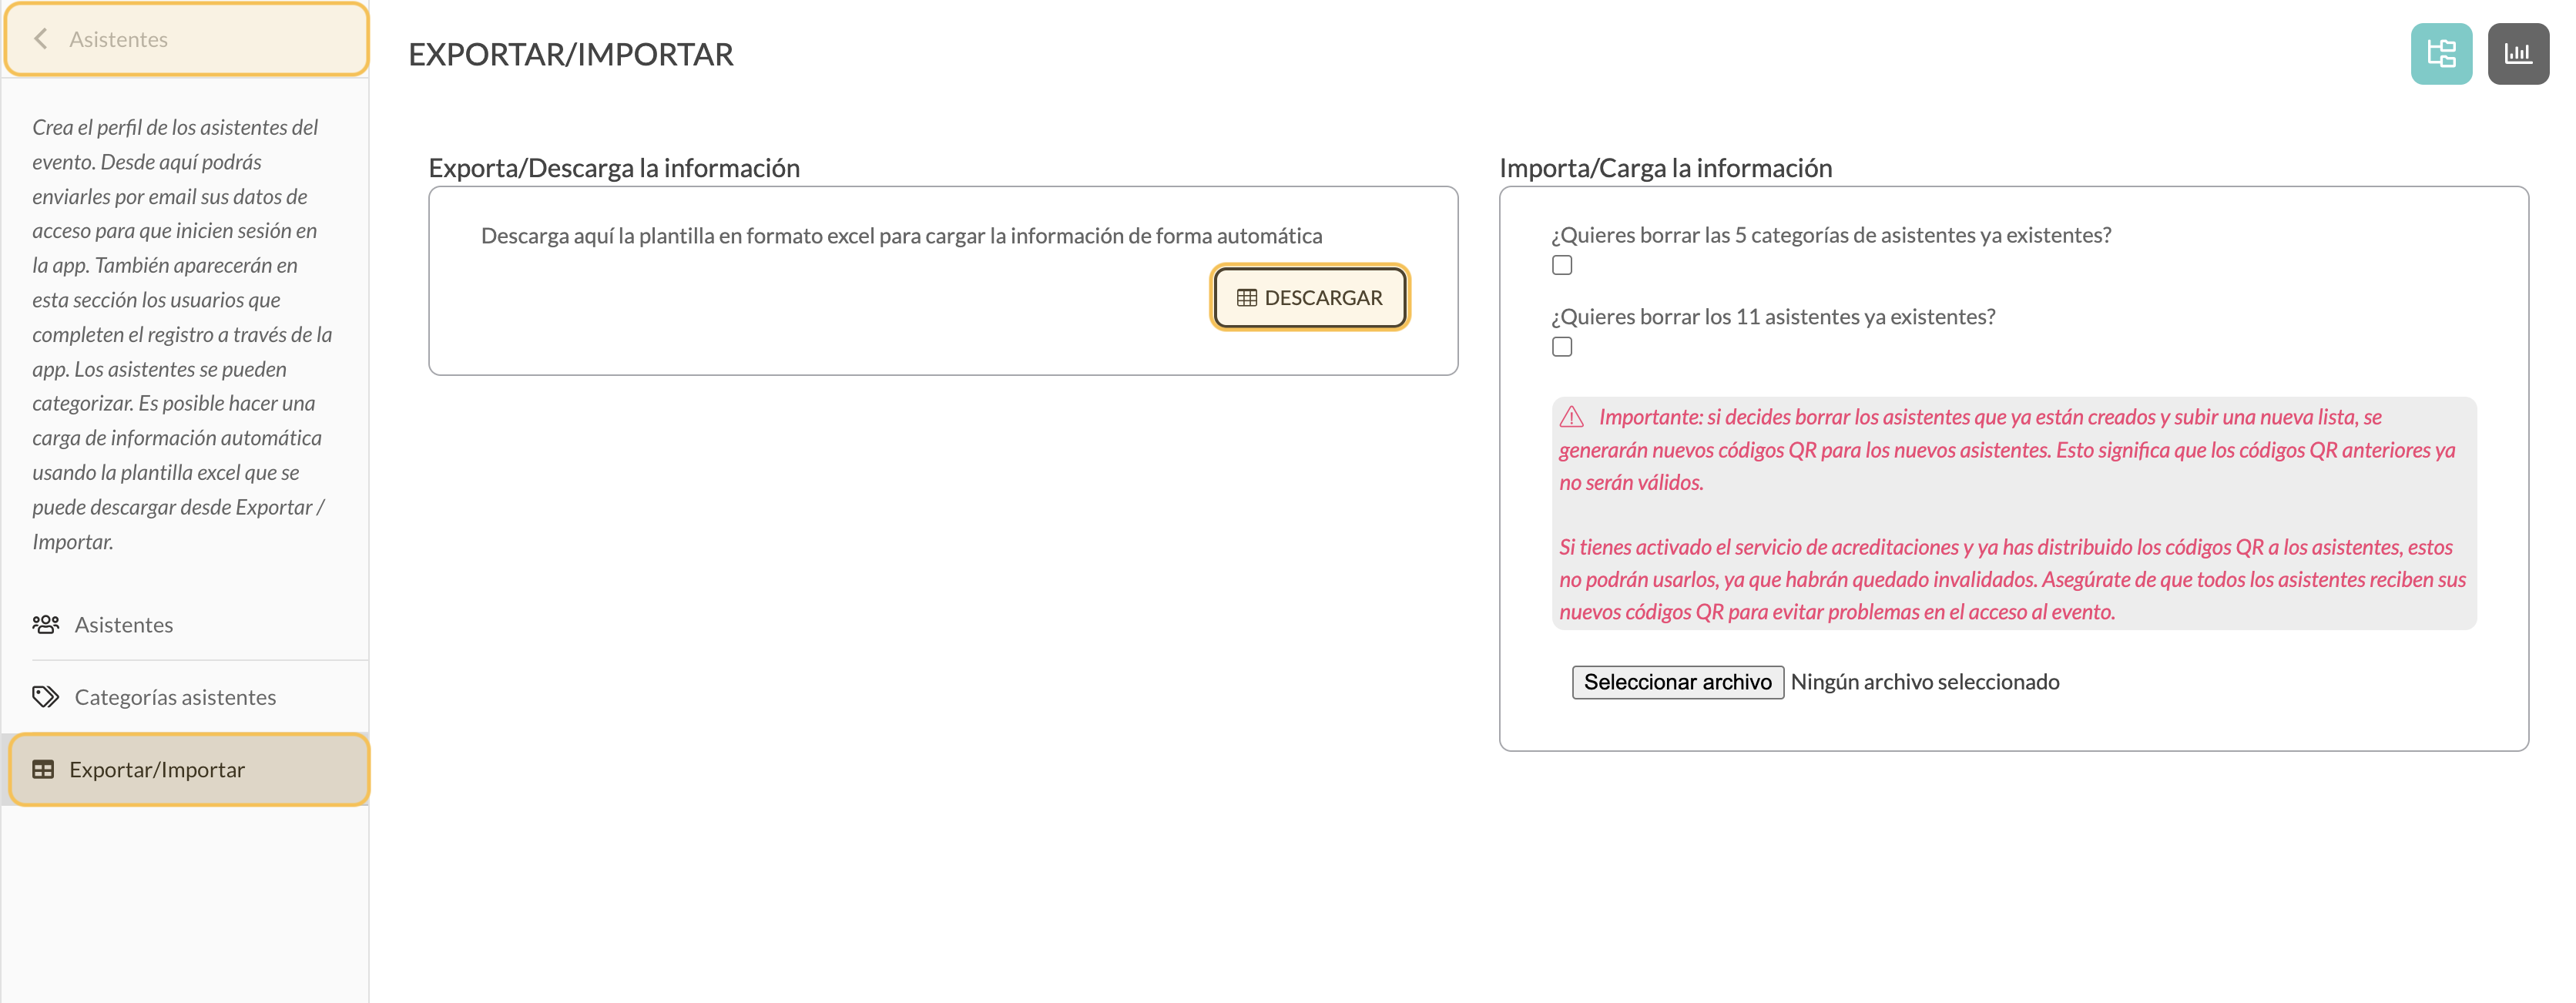
2. Go to the **Attendees section > Export/Import**.
3. Click the **Download** button to obtain the Excel template.
### What is downloaded?
* If you already have assistants, Excel will include their details.
* If there are no attendees yet, the template will be empty.
* If there are linked images or files (photos, resources), a **ZIP** file containing the Excel file and all the files will be downloaded.
***
## Completa la plantilla Excel
The sheet includes multiple columns. Below, we explain what you can include.
### Basic information
* **Treatment, First name, Surname.**
* **Organisation, Position, Place of origin.**
* **Telephone number** (with area code, no spaces or symbols).
* **Email** (mandatory and unique field. Cannot be repeated).
* **Password** (you can leave this blank; the system will generate a 5-digit alphanumeric password).
* **Biography.**
* **Order** (determines the order of appearance in the app).
***
### Segmentation and visibility
* **Categories**: separated by `,` o `;`, written as they appear in the panel. See how to create and use wizard categories.
* **In networking**: ‘Yes’ or ‘No’ (if the profile is visible in the app).
* **Personal data**: ‘Yes’ or ‘No’ (if telephone number and email address are displayed publicly).
* **Language**: use codes such as `es`, `en`, `pt`, `fr`, `de`, `it`
***
### Internal information and for the assistant
* **Notes**: visible only to the organiser.
* **Information for assistant**: private textual content.
* **Resources**: indicate the exact name of the file (ej. `ponencia.pdf`). Then, upload it together with the Excel file in a ZIP file.
* **Photo**: indicates the name of the image file.
📦 If you upload resources or photos, create a ZIP file with the Excel file and the corresponding files.
***
### Meetings (if enabled)
* **You may request meetings**: ‘Yes’ or ‘No’.
* **You can receive meetings**: ‘Yes’ or ‘No’.
* **You can create timetables**: ‘Yes’ or ‘No’.
* **Maximum number of requests.**
***
### Other fields
* **Exhibitor**: exact name (should already exist in the Exhibitors section).
* **Website, Twitter, LinkedIn, Facebook, Instagram**.
* **Entry date**: for information only. Cannot be modified.
***
## How to upload the template
Once you have the template ready:
1. If you included files (resources or photos), **create a ZIP file** containing them along with the Excel file.
2. Go back to **Assistants > Export/Import**.
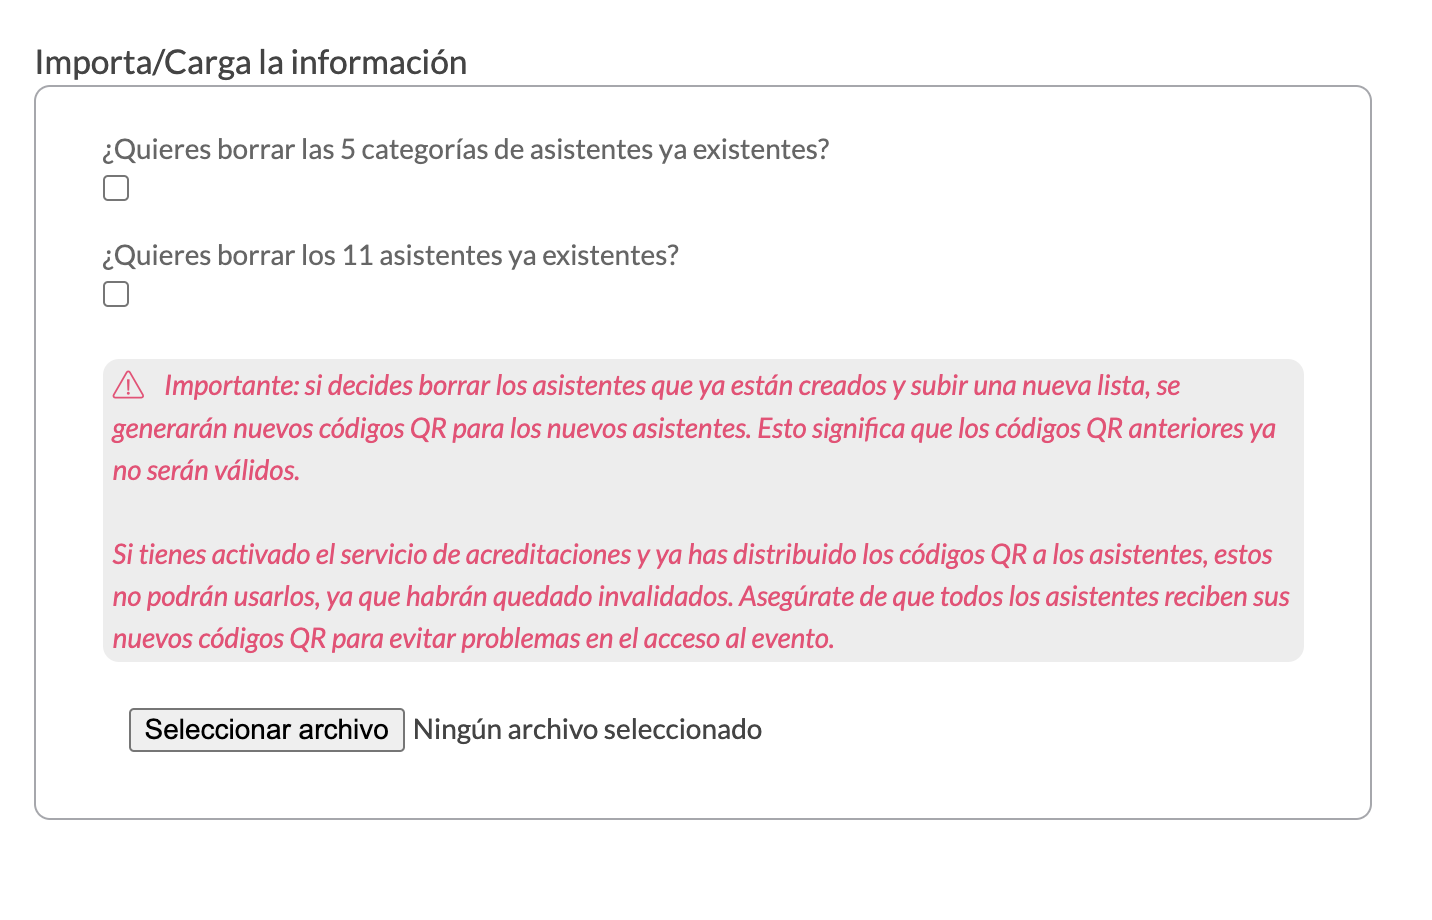
3. At the bottom, click **Select File** to upload your Excel or ZIP file.
***
### ⚠️ Before importing: important options
When importing, the system will ask you if you wish to:
**Delete existing categories**
* If you tick this option, the current categories will be deleted and only those you have included in the Excel file will be created.
**Delete existing attendees**
* If you select this option, the current assistants will be removed and replaced by the new ones from the template.
* **This generates new QR codes for each attendee.**
{% hint style="info" %}
📢 **Important!**\
If you have already sent the previous **QR codes** (for example, using the accreditation system), these will be **invalidated.**\
Please ensure you send the new QR codes to all attendees to avoid any issues accessing the event.
{% endhint %}
***
## Final recommendations
* Check that there are **no duplicate emails** and that the mandatory fields are complete.
* Use **exact names** for categories and exhibitors.
* If you have any questions, please refer to the sample template before importing.
* To upload more advanced content such as rich text, links, or custom resource visibility, edit it directly from the dashboard.