> For the complete documentation index, see [llms.txt](https://help.eventool.com/llms.txt). Markdown versions of documentation pages are available by appending `.md` to page URLs; this page is available as [Markdown](https://help.eventool.com/en/general-content/networking/attendees/how-to-create-and-edit-attendees-manually-from-the-panel.md).
# How to create and edit attendees manually from the panel
Learn how to create a new assistant step by step and discover all the options you can configure manually.
## Access the assistants section
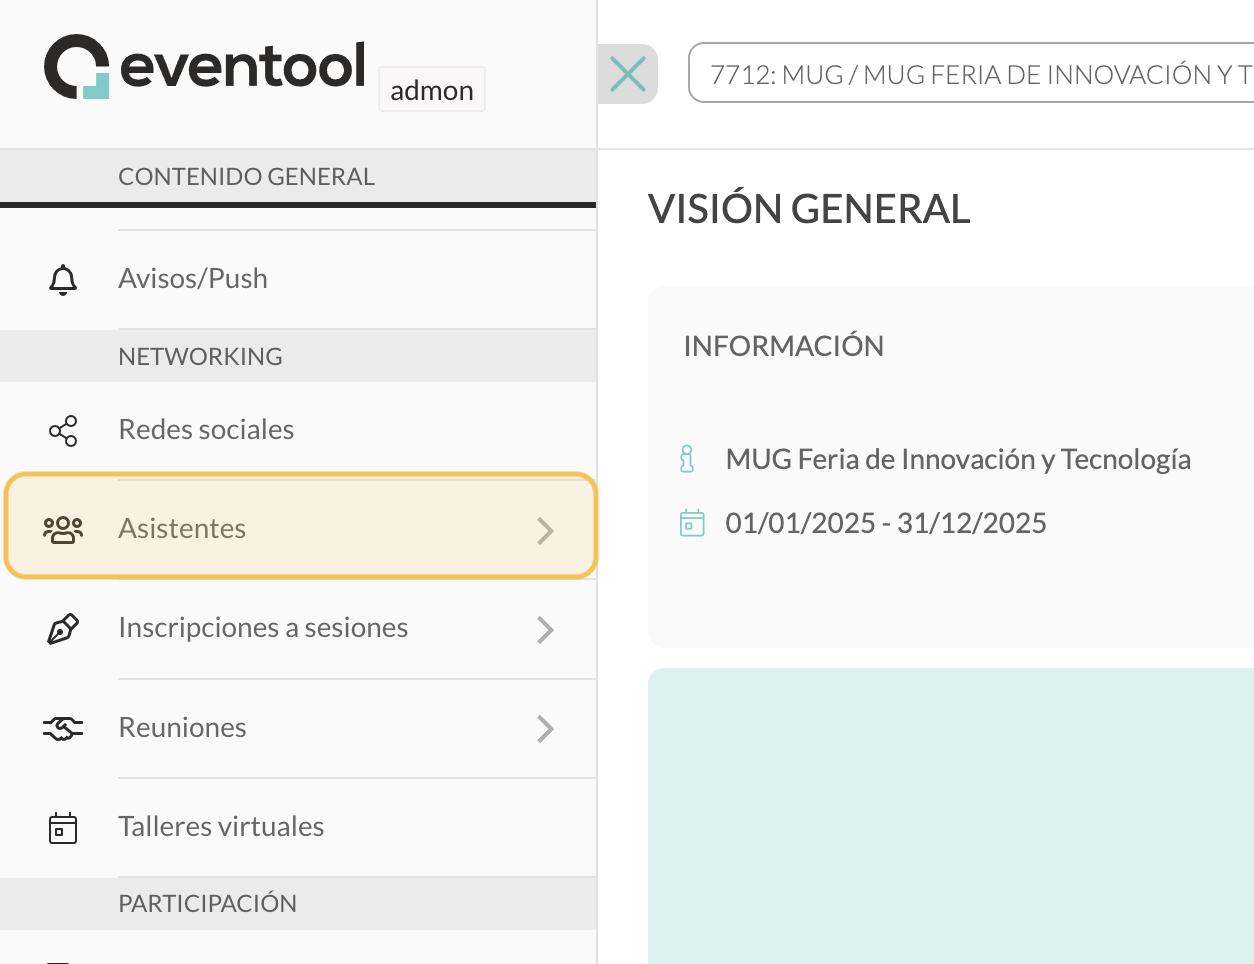
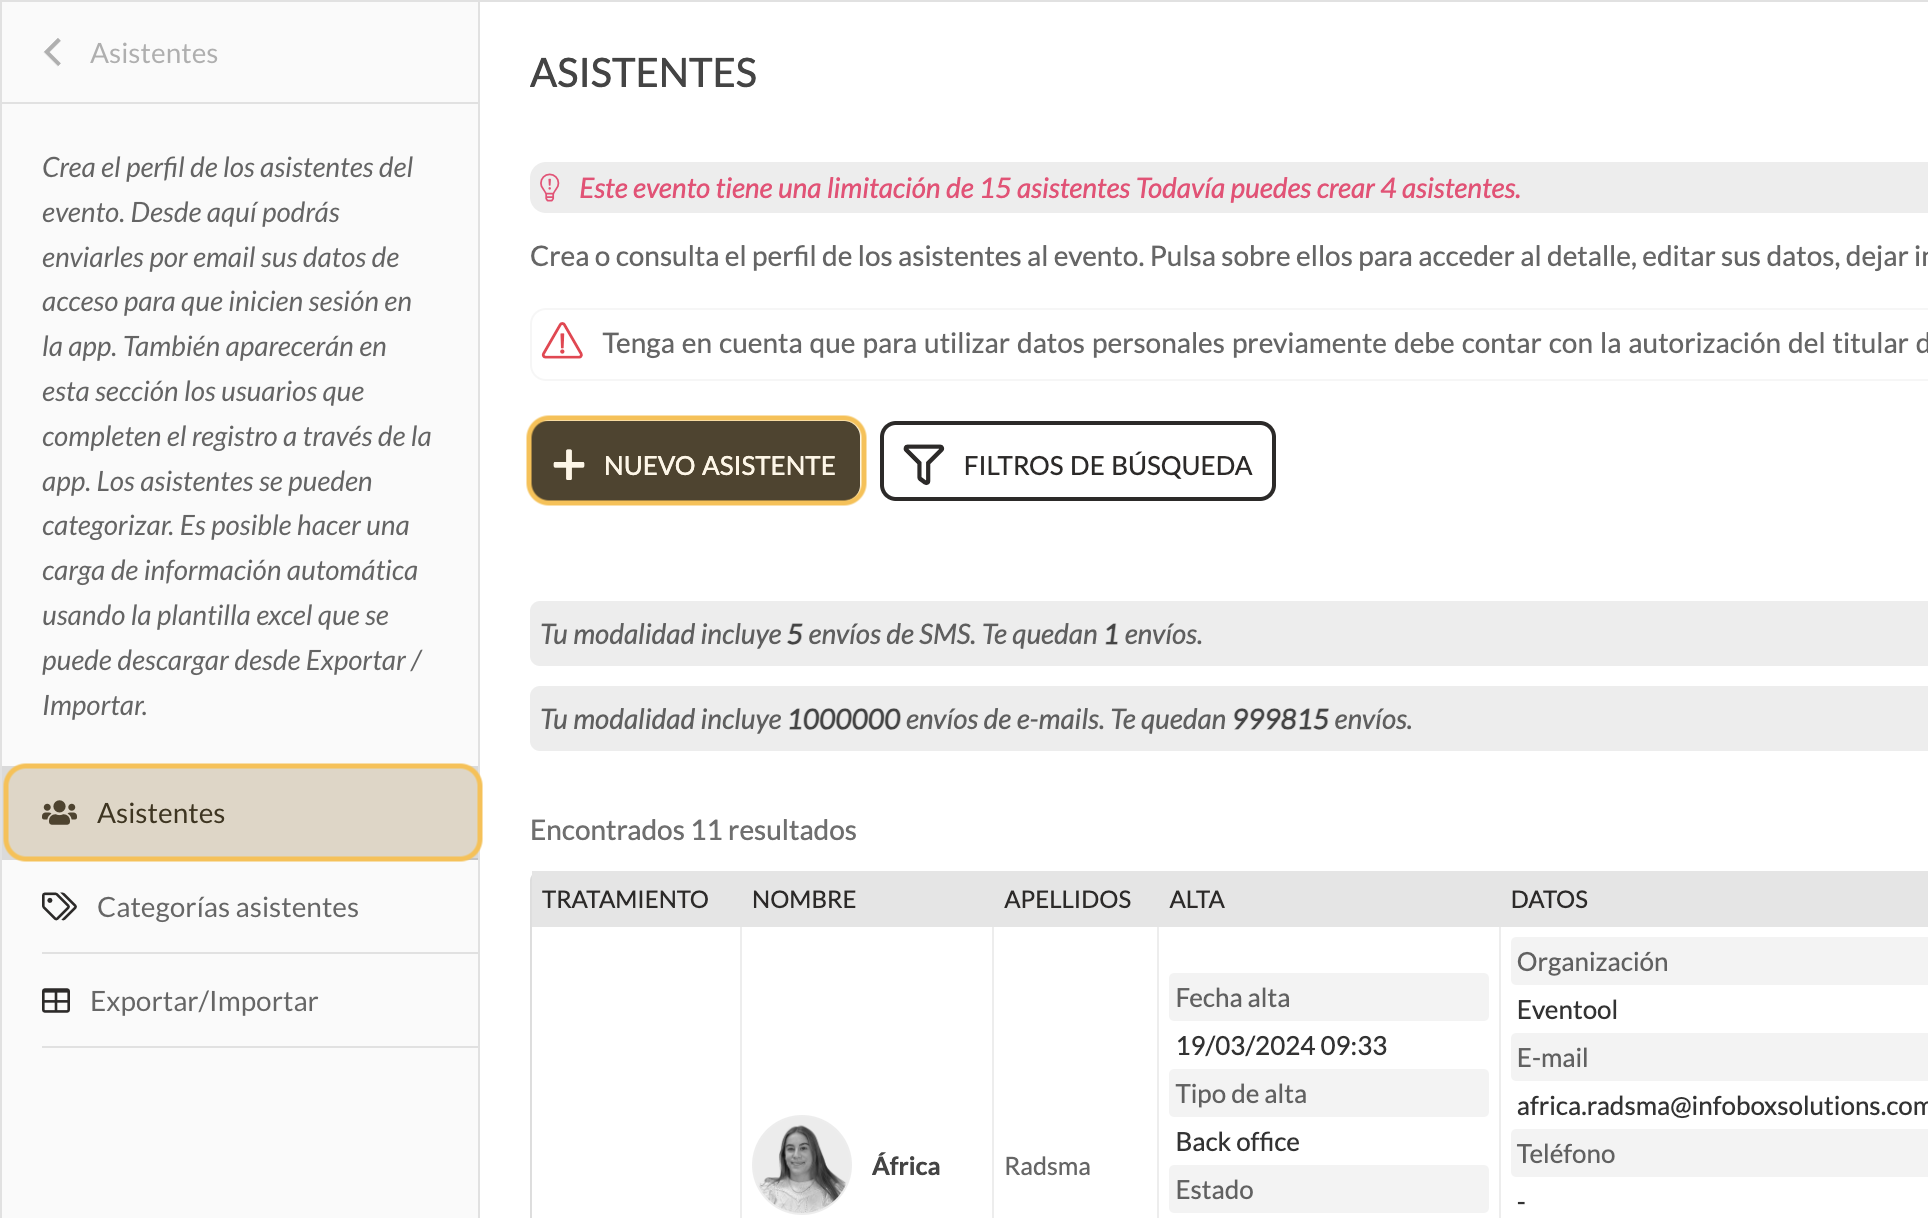
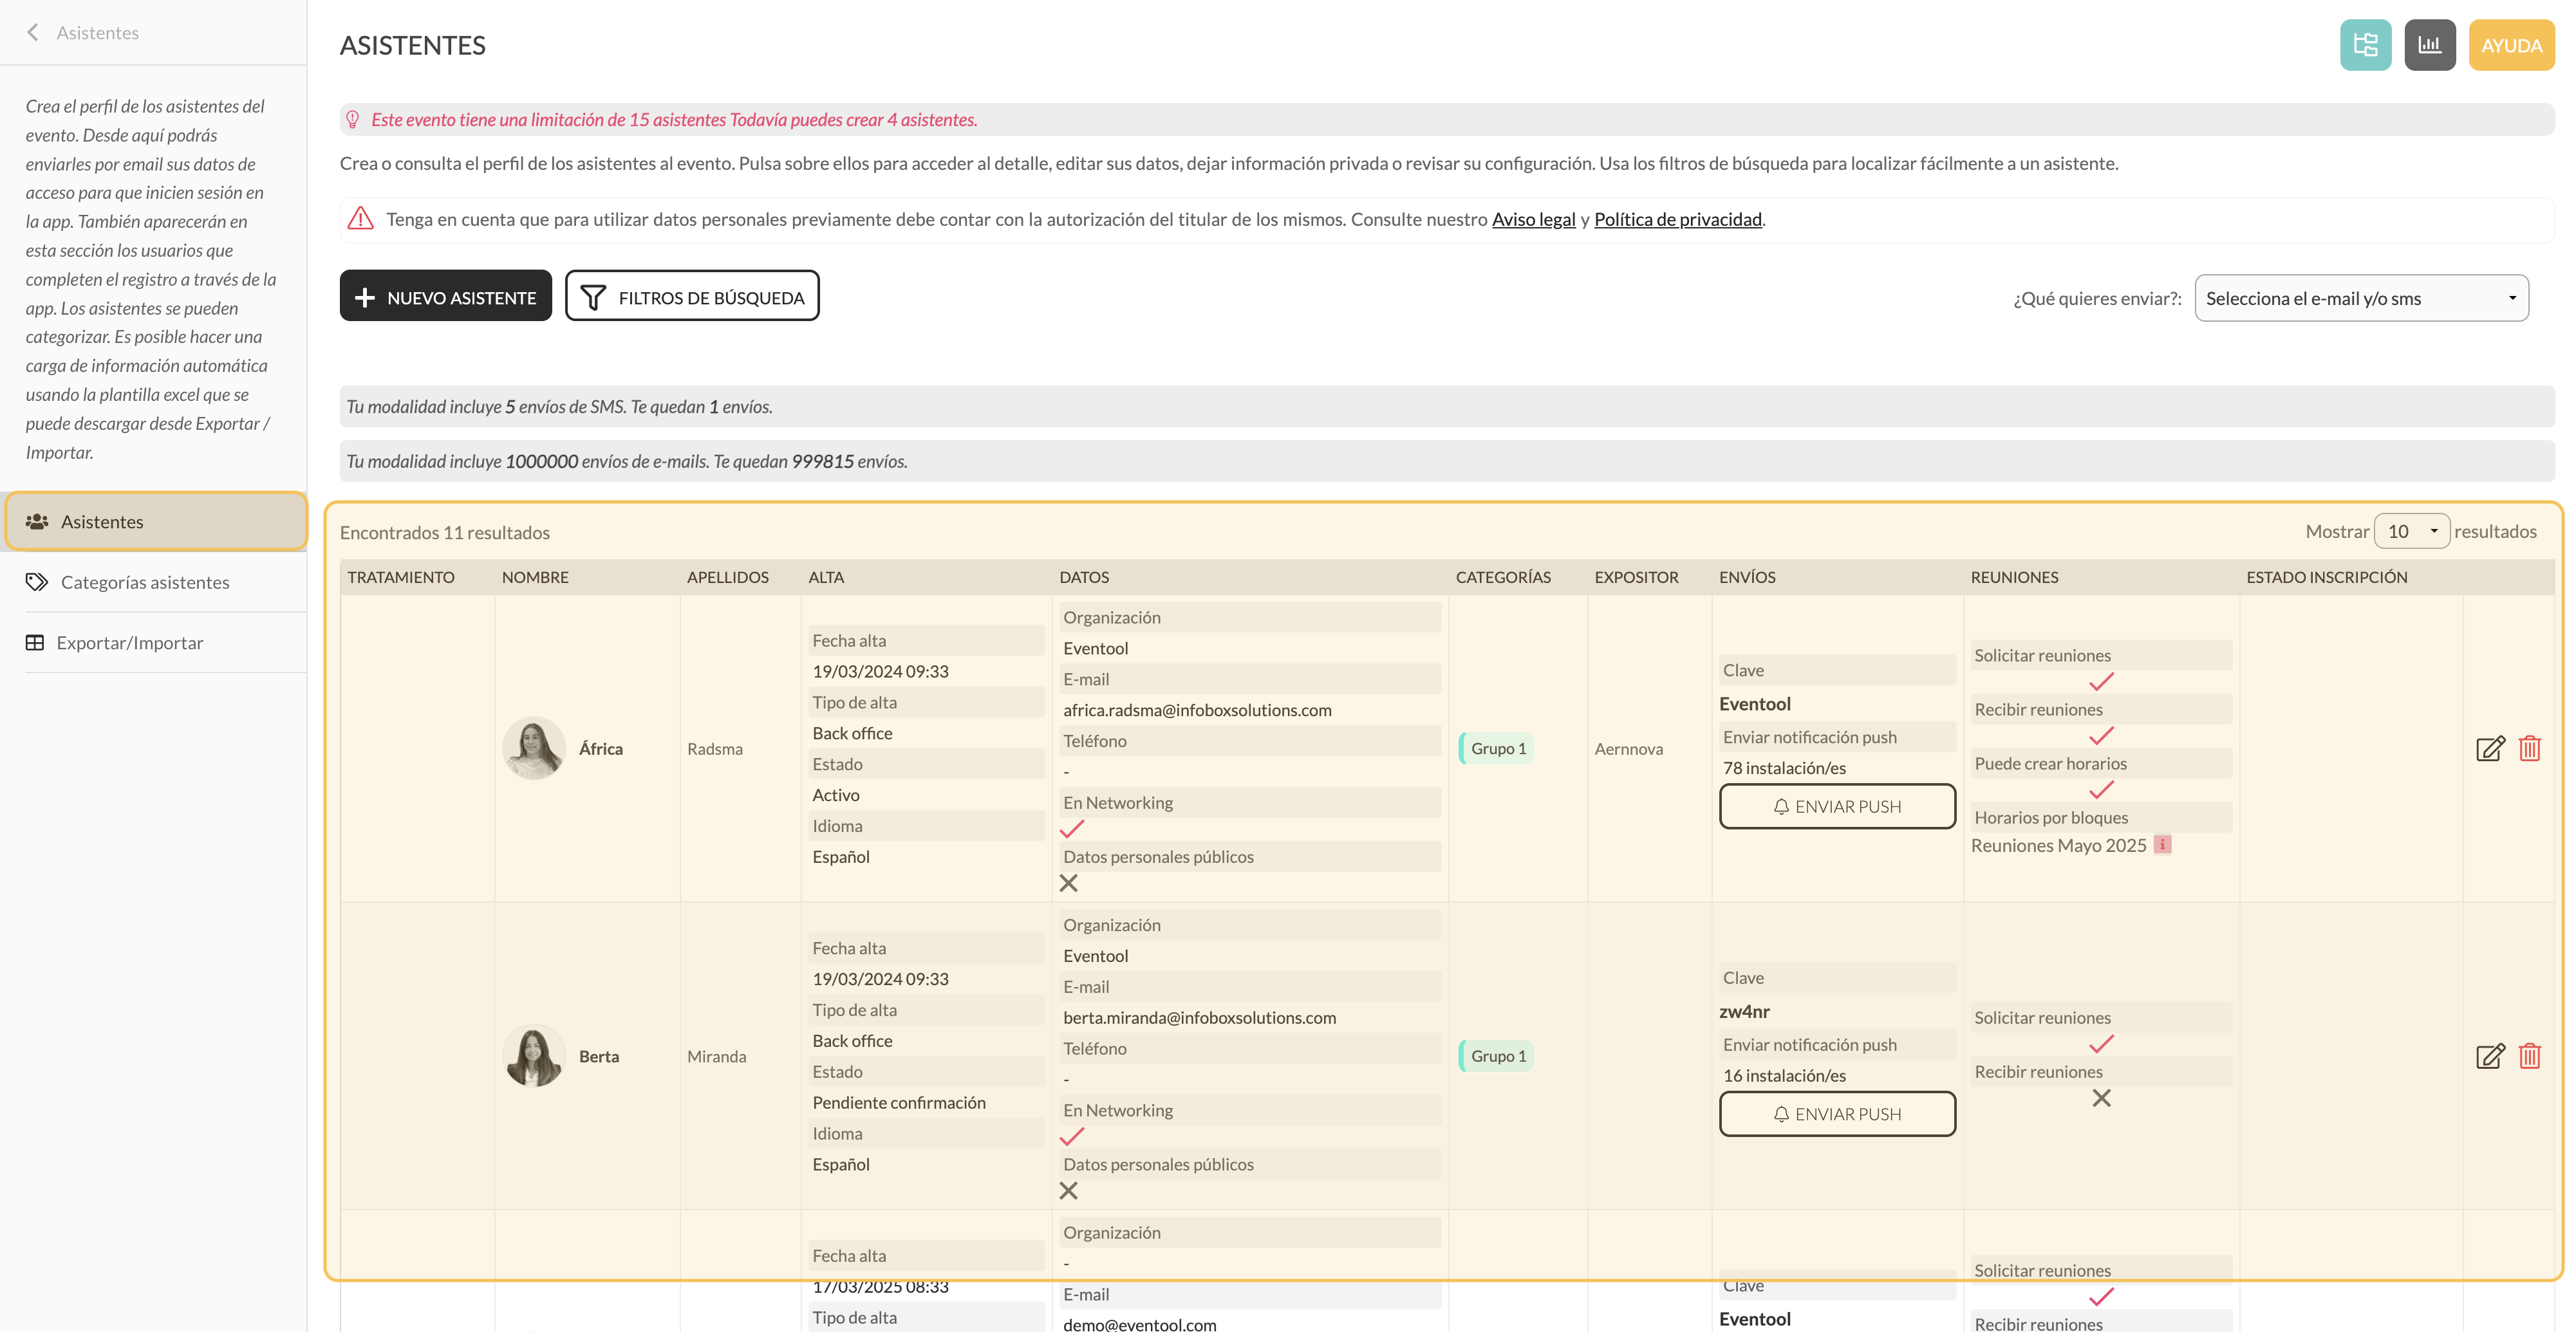
From the management panel, go to the **Attendees** section. Here you will see a list of all participants added so far.
To add a new one manually, click the **+ New attendee** button.
📌 *Later on, we will also see how to import assistants in bulk using Excel.*
***
## Complete the attendee's form
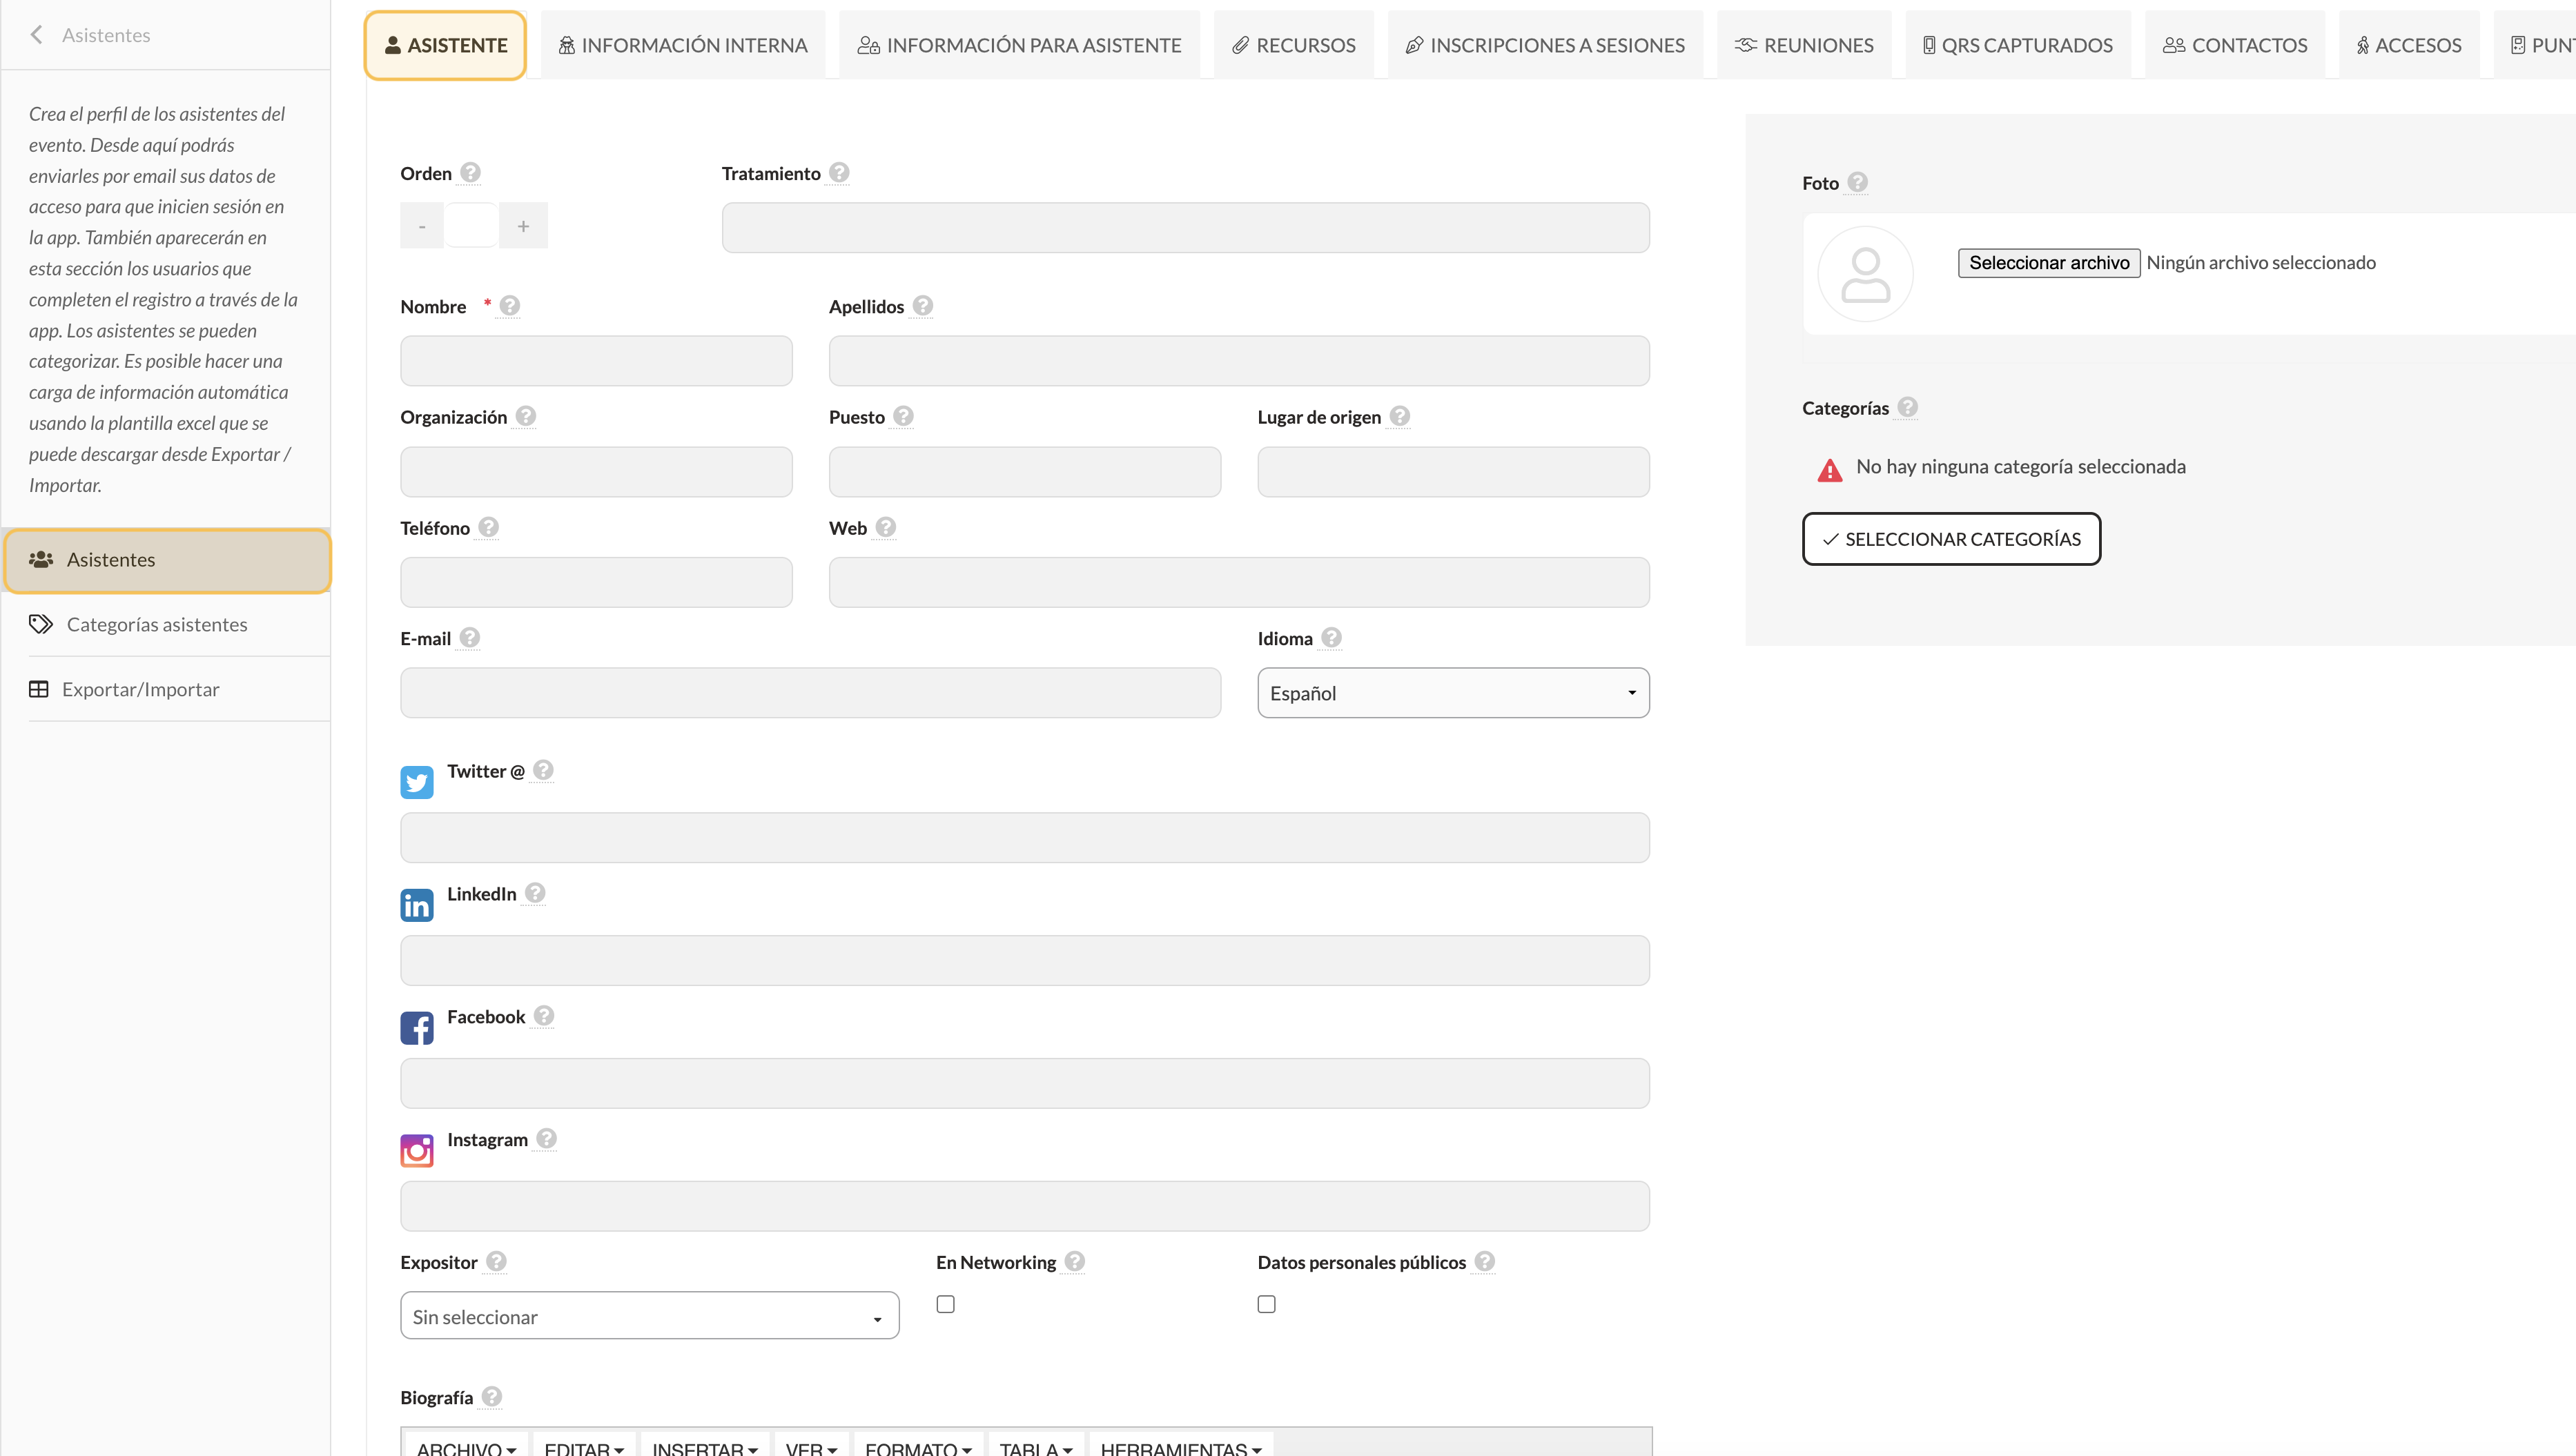
Clicking on **+ New attendee** opens the edit form, divided into several tabs.
In this article, we will focus on the first tab: **Assistant**, where the participant's main information is entered.
### Available fields
* **Order**: number to define the order of appearance in the app list. If we define it here, we must bear in mind that it must also be configured in the **app structure > Assistants section > Options > Order**.
* **Treatment**: Sir, Madam, Mr., Mrs., etc.
* **Name** *(mandatory)*
* **Surnames, Organisation, Position, Place of origin, Telephone, Website**
* **Email** (unique identifier, cannot be repeated)\
Email allows you to:
* Send communications by email
* Grant access to the private profile (along with the password)
### Language and social media
* **Language**: defines the language in which you will receive emails, notifications, and alerts.
* **Twitter, LinkedIn, Facebook, Instagram**: optional fields to enrich your profile.
### Linking with exhibitors
* **Exhibitor**: links the attendee to an exhibiting company (if already created). This allows attendees to be filtered by company from the app.
### Visibility and privacy
* **In networking** ✅: enable this option if you want the profile to be visible in the app and for the assistant to be able to use features such as chat or meetings.
> *The assistant can disable this visibility from their profile if they wish.*
* **Public personal data** ✅: When you select it, the telephone number and email address will be visible in the app.
> *The assistant can also modify this option from their profile.*
### Additional information
* **Biography**: free field for the assistant to describe themselves.
* **Picture**
* **Categories**: allow you to segment attendees by interests, control access, or create specific sections.\
*(They are created beforehand from Attendees Categories.)*
***
## Save to activate the other tabs
Once you have completed the fields, click **Save**. This will activate the rest of the profile tabs, which you can continue to edit to add more information or customise the assistant's experience.
***
## What if I want to edit an attendee that has already been created?
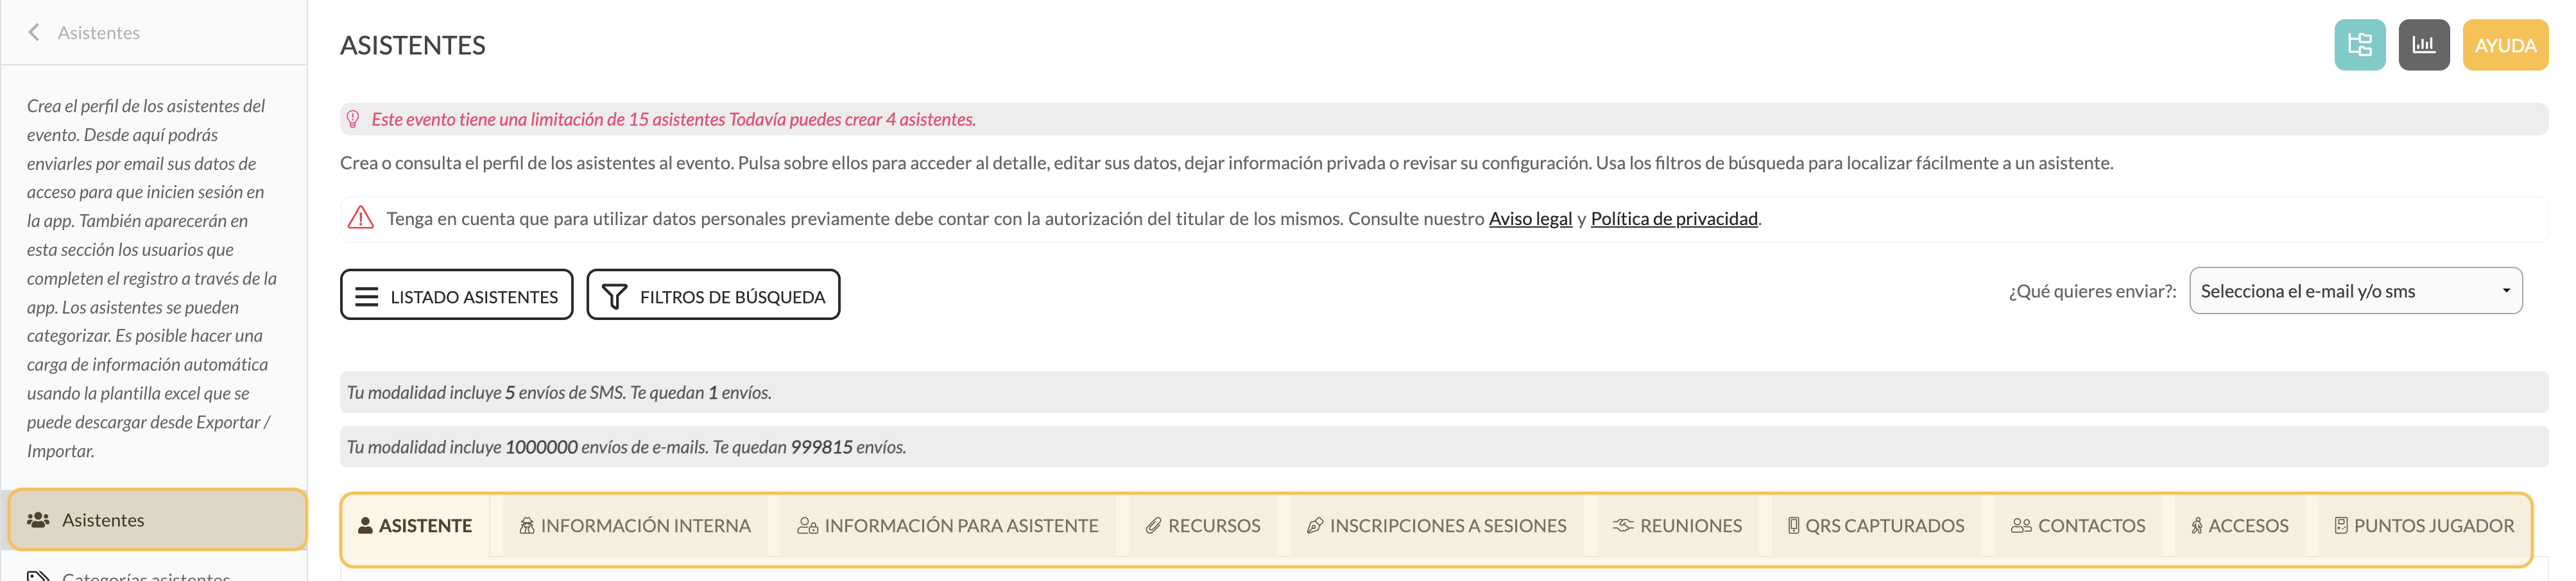
From the list of attendees, click on the name of the attendee you wish to modify. Their complete profile will open, divided into tabs:
* Internal information
* Information for attendees
* Resources
* Registrations
* Meetings
* Captured QRs
* Contacts
* Accesses
* Player points
👉 In the following articles, we will explain each of these tabs step by step.